
How remote bike sizing works
One 45-minute video session, four stages, one written report. Here's what happens, and what you need ready before it starts.
Before we speak
When you book, three things arrive by email: your confirmation with the video call link, a calendar invitation, and a link to your intake form.
Fill the intake form in before the call. It covers your riding history, what you're on now, any niggles we should know about, your goals, and the bikes you're already considering. Every minute you spend on it is a minute we don't spend on admin during your session.
Then set up. The prep checklist is at the bottom of this page. Do it the day before, not five minutes before — turbo trainers have a way of revealing a missing skewer at the worst possible moment.
Your measurements
We start with your body, not your bike.
Height and inseam get measured live, with your fitter watching. Inseam is the single most common source of a wrong answer because almost everybody measures it badly the first time, so we talk you through it. You'll need the tape measure and the hardback book.
We'll also cover your riding style, how long you typically ride for, what you're prioritising, and a short hamstring check.
From that, the sizing engine produces a first draft: where your saddle should be, what crank length suits your legs, where your hands want to be.
The draft is a starting point. It leans partly on population averages for your torso and arm length, which is the same assumption every size chart makes, and it's the assumption we spend stage two testing.
Measuring the position you're in now
This is the stage that makes the session worth paying for.
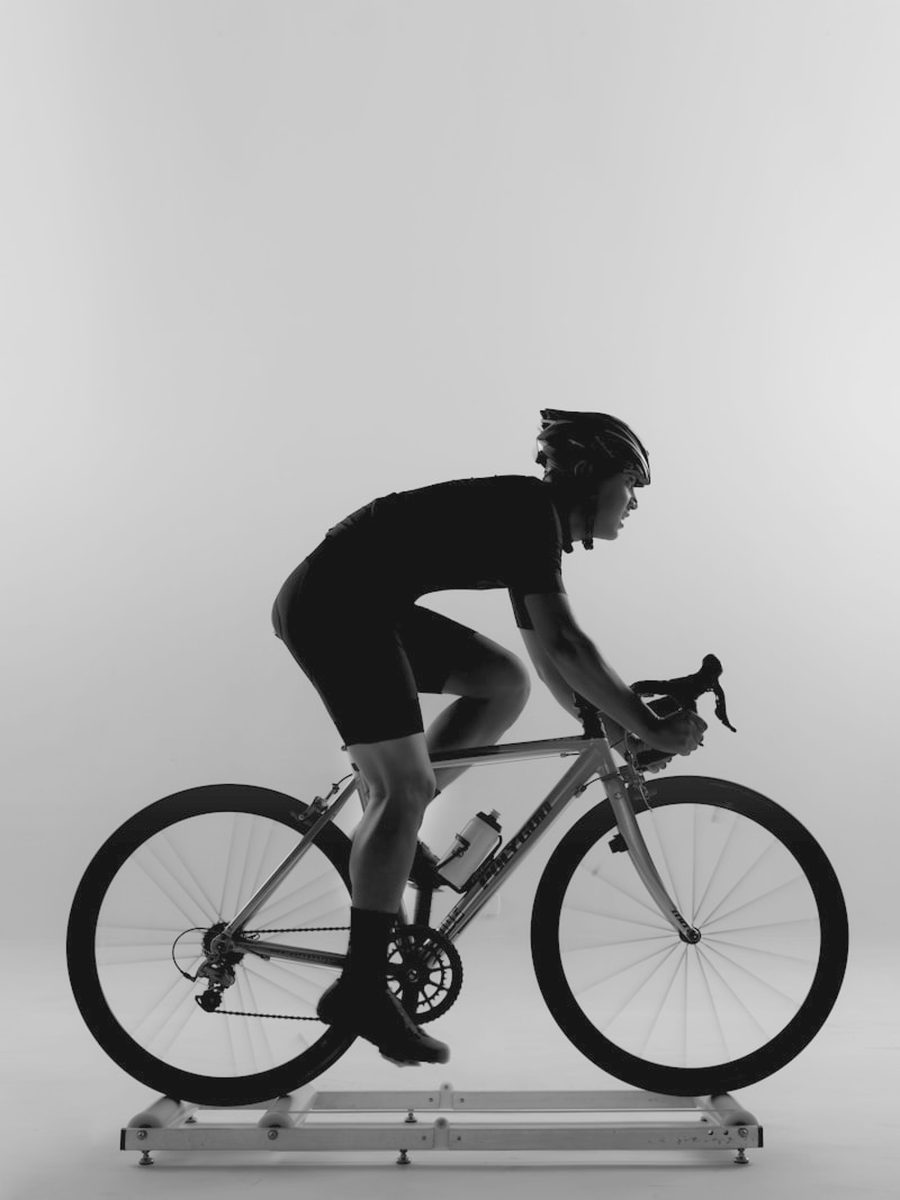
With your bike on the trainer and your phone filming side-on, we record you riding. Your fitter tracks the key points of your body through the pedal stroke and checks each one by hand.
Two things come out of it.
Your real proportions. We know your saddle height and we can see the angles your joints make, so we can work backwards to your torso and arm length. Measured, not averaged. Those measurements then go back into stage one and recalculate the recommendation.
If your torso runs 30mm longer than average for your height, every size chart you've ever used has been quietly giving you the wrong answer.
Where you sit today. Your current position, in numbers, with no judgement attached about whether it's good or bad. It's a record to compare against what the model says.
No bike to film? We skip this stage — see the note on anthropometry-only sessions on the FAQ page.
Building your position
Now your fitter has two positions on one screen: what your anatomy suggests, and what you're actually doing.
They're rarely identical, and the gap tells you something. Sometimes your current position reflects years of sensible adaptation and we keep it. Sometimes it reflects a frame that was too long from the day you bought it, and you've been quietly compensating ever since.
Your fitter works through the difference with you, decides what to keep from each, and builds one target: an exact handlebar coordinate as X and Y from your bottom bracket, plus your final saddle position and crank length.
No software makes that decision on its own. It's professional judgement applied to one specific rider, which is why this is a consultation and not a calculator.
Matching real bikes
Your target coordinate goes into the geometry database and we test it against real frames, live, while you watch.
For each candidate we work out whether it can reach your position at all, and if it can, what setup that takes: stem length and angle, how many spacers, which handlebar, which seatpost.
Then we check the thing most people never think about, which is how much adjustment is left over.
A bike that hits your target on a 110mm stem and half its spacer stack is a good bike for you. A bike that only reaches you at maximum spacers with a 130mm stem and the saddle at the end of its rails is a bad bike for you, even though the numbers technically work, because you have nowhere left to go when you want to change something.
Bring the bikes you're considering and we'll run them. If your dream bike doesn't work you'll see why, in numbers, on screen, before you spend the money.
Your report
After the session you get a written report with everything above in it: your measurements and where each one came from, your final position, your crank length, the confidence range around your target, the bikes we discussed and how each ranked, the setup each would need, and notes on why the wrong ones were wrong.
It's yours. Take it to any shop, any brand, any country. It's written so a shop mechanic can read it as easily as you can.
Your prep checklist
Do this the day before, not five minutes before.
Equipment
- Your current bike, on a turbo trainer or stationary trainer, ready to ride
- Cycling kit and the shoes you actually ride in
- A phone for filming, charged, plus a tripod or a willing helper
- A laptop or tablet for the video call. A phone alone won't do
- A tape measure and a hardback book
- A towel, and a fan if you have one
Space and setup
- Roughly two metres of clear floor on one side of the bike, so the camera sees you whole
- Even light. A lamp beside the bike beats a bright window behind you
- The bike level and stable
Admin
- Intake form completed
- Geometry charts, or just the names, of any bikes you're considering
- Your current bike's make, model and size to hand
- Video call link tested. Click it a few minutes early
Nice to have
- Anything that's ever bothered you on the bike, written down
- Your budget and rough timeline for buying